Hey crafting folks!!! I am back with another box for ya.
I used a very pretty paper for making a low lying rectangular box! It is an
easy box and its making style is similar to that of the card box that I made
earlier. So….let’s start!
Card stock/Paper: 7 ½” X 4 ¼”

Score at:
On the long side (7 ½” side): ¾”, 6 ¾”
On the short side (4 ¼” side): ¾”, 2 ¾”, 3 ½”, 5 ½”
Here are the score lines:

You don’t need to actually cut anything from your paper
but there is some notching…..

As you would have noticed that on the borders there are 3
squares and 2 rectangles on each side. Fold your right hand side square over
the adjacent rectangle. as shown below and do the same thing on the opposite side.

Then fold the left hand side and center squares over the
adjacent rectangle. as shown below and do the same thing on the opposite side.


Your box shall look like this with all the folds made.

So if you close the box, it will look like this….

I made a small embellishment. I have highlighted its
border by using sponge and black paint/ink.

And here I have stuck the embellishment on the box with
the help of double sided tape.

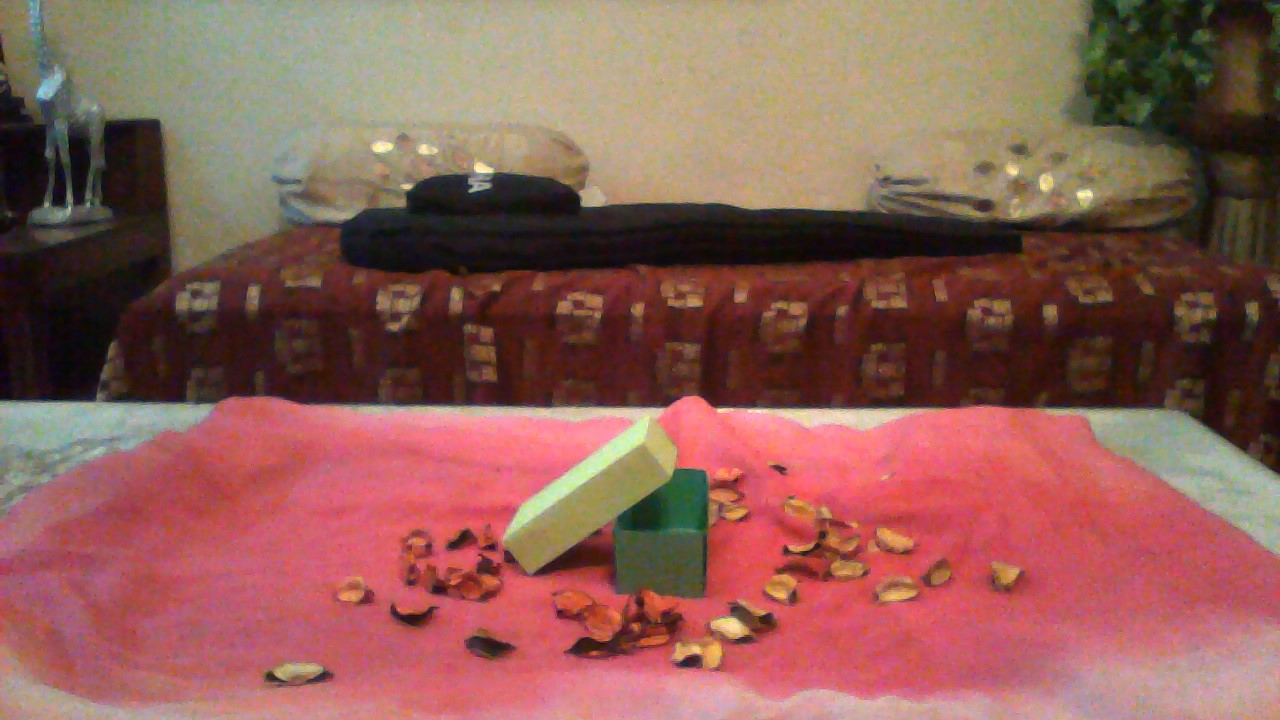
And there it is the box made…! Thank you so much for
stopping by! If you like my projects pls subscribe. If you have any problems or
suggestions, u can email them to me. If u don’t understand any of the terms
that I used, pls click the terminology reference button on the right. You can
also follow me on pinterest and bloglovin’.
---TK/Cx